ColoursDreams

Interior Painting

Get the experts to create marvellous wall designs for your home!

0 +

Happy Home

4.8

5/5
0 %

NPS
Highest in the Industry

1

Year Warranty

Book Free Visit

Please enable JavaScript in your browser to complete this form.
How Can We Help You?

Interior Painting

Get the experts to create marvellous wall designs for your home!

0 +

Happy Home

4.8

5/5
0 %

NPS
Highest in the Industry

1

Year Warranty

0 +

Happy Client

0 +

Completed Projects

0 +

Employees

0 +

Services

Genuine Pricing

Custom Designs

Dedicated Manager

Safety Assured

This Can Be Secondary Heading

Lorem ipsum dolor sit amet, consectetur adipiscing elit, sed do eiusmod tempor incididunt ut labore.

This Can Be Secondary Heading

Lorem ipsum dolor sit amet, consectetur adipiscing elit, sed do eiusmod tempor incididunt ut labore.

This Can Be Secondary Heading

Lorem ipsum dolor sit amet, consectetur adipiscing elit, sed do eiusmod tempor incididunt ut labore.

Perfect Interior Finishes

1. Setting Up Your Paint Surfaces and Materials

  1. Cover Floors and Furniture: We will cover the floor using painter’s canvas and furniture using painter’s plastic.
  2. Apply painter’s tape to the edges: We will use tape to keep straight line and edges smooth.
  3. Apply Primer and Paint: We will mix primer and painting. We will use mixing sticks to ditsribute paint and primer evenly.
  4. Prepare Interior walls: An even surface makes it easier to get professional look. So, We will fix holes, patches and rough surfaces.
Tools Used : Plastic Sheets, Scaffolding, Ladders, Wire Brush, Garden Hose

2. Priming the wall and cover the edges

  1. Pour primer into the paint tray: We will use paint tray as container. We will Apply primer on the edges of your wall. And cover 3 to 4 inches of outer side.
  2. Coat the roller in primer: We will evenly coated the roller with a primer layer And use roller extension to make jobs easier.
  3. Apply primer in a large “W” shape: We will apply primer in large W shape and move it up and down to fill the area around W shape.
  4. Let primer dry: Before applying paint, We will allow the primer to dry for one day. If the primer is still wet, give it one more day.
Tools Used : Steel Wire Brush

3. Painting the wall

  1. Pour paint into the tray: We will use paint tray as container. We will Apply paint on the edges of your wall. And cover 3 to 4 inches of outer side.
  2. Coat the roller in paint: We will evenly coated the roller with a paint layer And use roller extension to make jobs easier.
  3. Apply paint in a large “W” shape: We will apply paint in large W shape and move it up and down to fill the area around W shape.
  4. Let paint dry: Before applying another coat, We will allow the paint to dry for one day. If the paint is still wet, give it one more day.
Tools Used : Putty Knife, Sandpaper

Why ColoursDreams?

500+ customers already
Trust ColoursDreams

Feature
Others
Material Procurement
Procured materials and tools
Hassle of buying material, tools etc.
Cleaning
Daily cleaning Zero stains
Improper Cleaning Visible Stains
Packaging and Masking
Polythene Covers 100% coverage
Papers and rags Incomplete covergae
Shifting of furniture etc.
Full responsibility
No responsibility
Supervision by Manager
Project Plan: Timely Completion
No schedule Delayed work
Accountability
Instant resolution
No external accountability Low resolution
Feature
Others
Quality Assurance
Pay only after satisfaction
Measurements and Scoping
Using Laser Meter & Moisture Meter
No set tools or method
Qaulity Checks
Daily Physical + Virtual Checks
Occasional Check
Patches/Bubbles
Zero Patches Mandated drying time
Patches might develop Uneven drying
Paint crack and peel off
Zero cracks Fixed ratio for mixing materials
Might develop no standard mixing ratios

Our Interior Painting Works

Customer Reviews

5.0 |
5/5

Excellent

Based on 62 reviews

Get Free Visit

Products & Services

Paint Calculator

Wallpaper for Walls

Wood Coating

Wall Texture Design

Interior Painting

Exterior Painting

Wall Stencil Design

Waterproofing

Grouting

Paint Products

False Ceiling

Estimate Painting Cost

You can easily estimate your interior painting cost with just a few simple steps

Our Process

4 Simple steps to
Transform Your Home

  • Accordion Below contains custom css
  • and uses Royal Elementor Addons and Templates
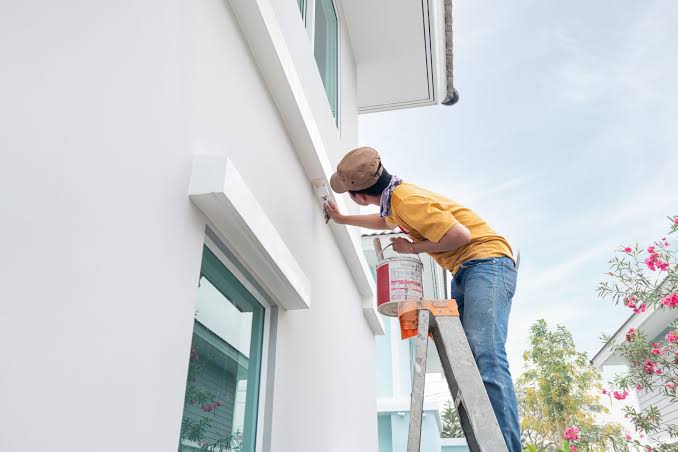
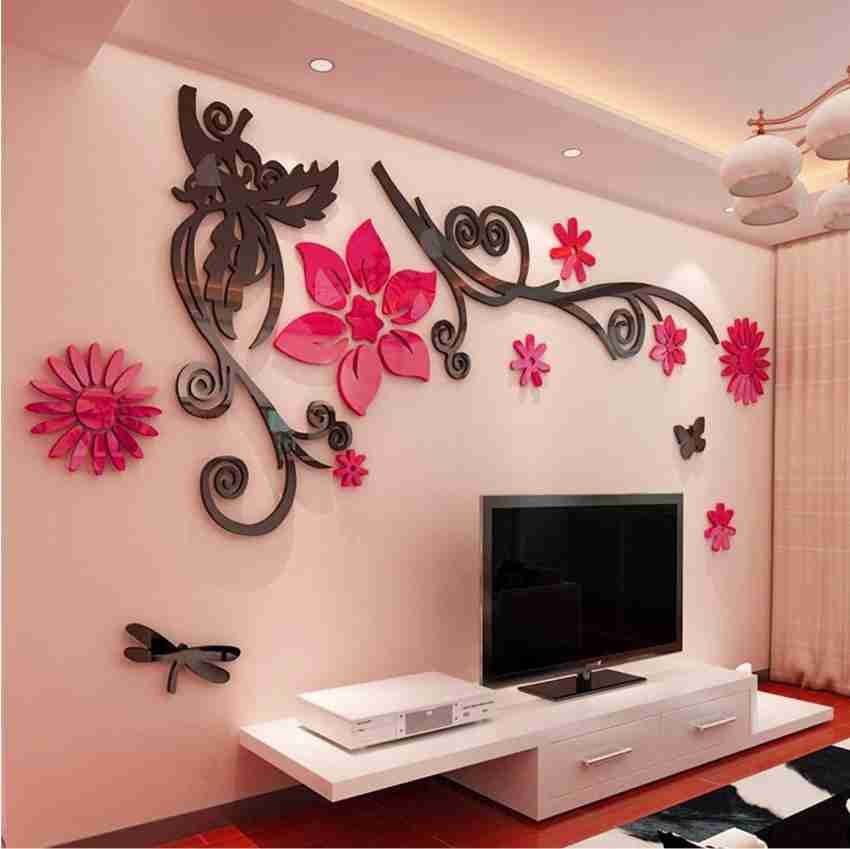
Furniture, doors & windows will be covered to prevent an stains. Furniture, doors & windows will be covered to prevent an stains
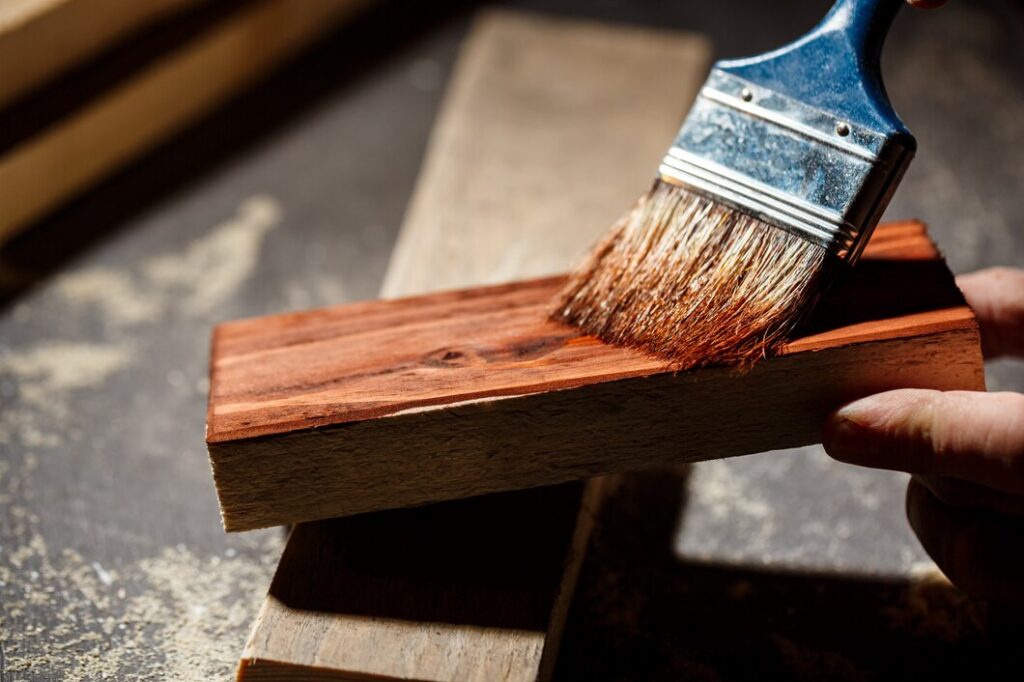
Primer provides better adhesion and coverage. Apply primer and give it sometime to dry before moving on to the next step.

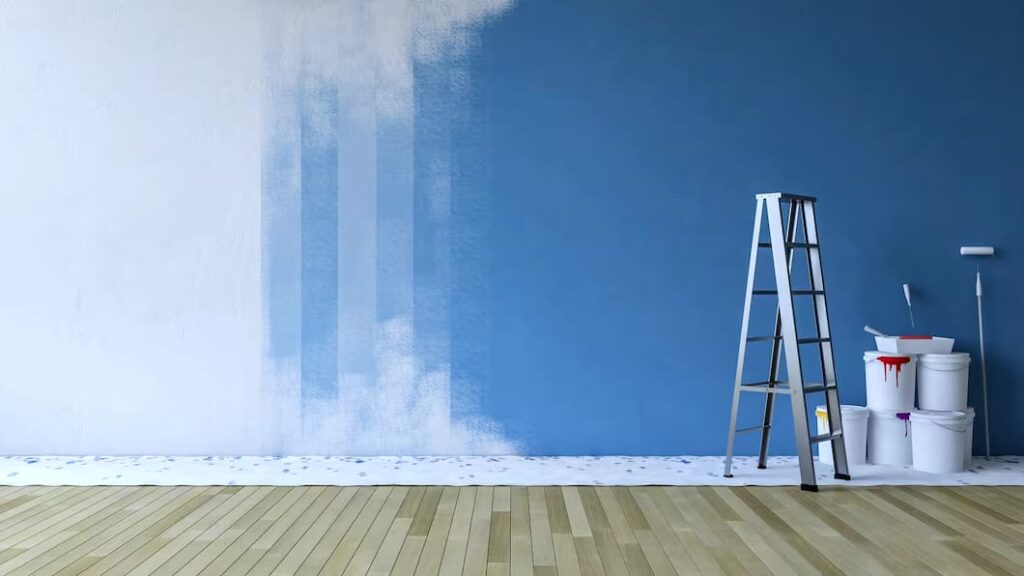
Brush the paint areas and apply additional coats of paint to give smooth and fresh looks

Removal of packaging and full cleanup to make your home as good as new

Interior Painting Cost (Re-painting)

Budget-Friendly Cost (Fresh painting)

Exterior Painting Cost

Royale Play Texture Pricing

Special Effects

65

Non Metallic

  • Bloom Pattern, Trellis Pattern
  • Criss- Cross Pattern, Brushing Pattern
  • Canvas Pattern, Colorwash Pattern
  • Combing Pattern

Special Effects

75

Metallic

  • Bloom Pattern, Trellis Pattern
  • Criss- Cross Pattern, Brushing Pattern
  • Canvas Pattern, Colorwash Pattern
  • Combing Pattern

Special Effects Exclusive

80

Non Metallic

  • Splash Pattern, Sponging Pattern

Special Effects Exclusive

90

Metallic

  • Splash Pattern, Sponging Pattern

Special Effects Premium

90

Non Metallic

  • Crinkle Pattern, Dapple Pattern
  • Delta Pattern, Disc Pattern
  • Fizz Pattern, Ragging Pattern
  • Seashell Pattern, Spatula Pattern
  • Spiral Pattern, Textile Pattern
  • Timber Pattern, Torrent Pattern
  • Weaving Pattern

Special Effects Premium

100

Non Metallic

  • Crinkle Pattern, Dapple Pattern
  • Delta Pattern, Disc Pattern
  • Fizz Pattern, Ragging Pattern
  • Seashell Pattern, Spatula Pattern
  • Spiral Pattern, Textile Pattern
  • Timber Pattern, Torrent Pattern
  • Weaving Pattern

Textile

75

Non Metallic

  • Yarn Pattern, Kora Grass Pattern
  • Crushed Slik Pattern, Jute Pattern
  • Lather Pattern, Denim Pattern

Textile

85

Metallic

  • Yarn Pattern, Kora Grass Pattern
  • Crushed Slik Pattern, Jute Pattern
  • Lather Pattern, Denim Pattern

Non Metallics

90

Non Metallic

  • Bloom Pattern, Trellis Pattern
  • Criss- Cross Pattern, Brushing Pattern
  • Canvas Pattern, Colorwash Pattern
  • Combing Pattern, Crinkle Pattern
  • Dapple Pattern, Delta Pattern
  • Disc Pattern, Fizz Pattern
  • Ragging Pattern, Seashell Pattern
  • Spatula Pattern, Spiral Pattern
  • Splash Pattern, Sponging Pattern
  • Timber Pattern, Torrent Pattern
  • Weaving Pattern

Metallics

100

Metallic

  • Bloom Pattern, Trellis Pattern
  • Criss- Cross Pattern, Brushing Pattern
  • Canvas Pattern, Colorwash Pattern
  • Combing Pattern, Crinkle Pattern
  • Dapple Pattern, Delta Pattern
  • Disc Pattern, Fizz Pattern
  • Ragging Pattern, Seashell Pattern
  • Spatula Pattern, Spiral Pattern
  • Splash Pattern, Sponging Pattern
  • Timber Pattern, Torrent Pattern
  • Weaving Pattern

Infinitex

120

Non Metallic

  • Oak Pattern, Fresco Pattern
  • Sandstorm Pattern, Hive Pattern
  • Breeze Pattern, Crossroad Pattern
  • Pebble Pattern, Ripple Pattern
  • Shale Pattern

Infinitex

140

Metallic

  • Oak Pattern, Fresco Pattern
  • Sandstorm Pattern, Hive Pattern
  • Breeze Pattern, Crossroad Pattern
  • Pebble Pattern, Ripple Pattern
  • Shale Pattern

Antico

150

Non Metallic

  • Classic Pattern, Linea Pattern

Antico

170

Metallic

  • Classic Pattern, Linea Pattern

Stucco

110

Non Metallic

  • Marble Pattern, Slate Pattern

Stucco

130

Metallic

  • Marble Pattern, Slate Pattern

Dune

110

Non Metallic

  • Drizzle Pattern, Halo Pattern

Dune

120

Metallic

  • Drizzle Pattern, Halo Pattern

Safari

110

Non Metallic

  • Classic Pattern, Sleet Pattern

Safari

120

Metallic

  • Classic Pattern, Sleet Pattern

Why Choose Colours Dreams?

trained-professional

Trained Professional

Asian Paint Certified

Affordable Price

1 Year Warranty

Asian Paint Certified

Frequently Asked Questions

  1. Assessment and Inspection: Start by inspecting your terrace for any existing cracks, damage, or areas where water may be seeping in. Identifying the source of the problem is crucial before starting any waterproofing work.

  2. Cleaning and Preparation: Clean the terrace surface thoroughly by removing dirt, debris, and any loose materials. Repair any existing cracks or damage using appropriate materials like concrete filler or mortar.

  3. Surface Smoothing: Ensure that the terrace surface is smooth and even. Any uneven areas can lead to water pooling and can affect the waterproofing membrane’s effectiveness.

  4. Primer Application: Apply a primer coat to the clean, dry surface. This helps improve the adhesion of the waterproofing membrane to the terrace.

  5. Waterproofing Membrane Installation: There are various types of waterproofing materials available, such as liquid-applied membranes, sheet membranes, or bituminous coatings. Choose the one that suits your needs and budget.

Roofs, Balconies and terraces, Basements, Swimming pools, Exterior walls, Bathrooms, Kitchen, Balconies, Bedroom, Living room, and Study room etc.

Total Waterproofing cost depends on the area and projects. You can book free visit to know more details about our waterproofing services.